Take your learning outside for big results!
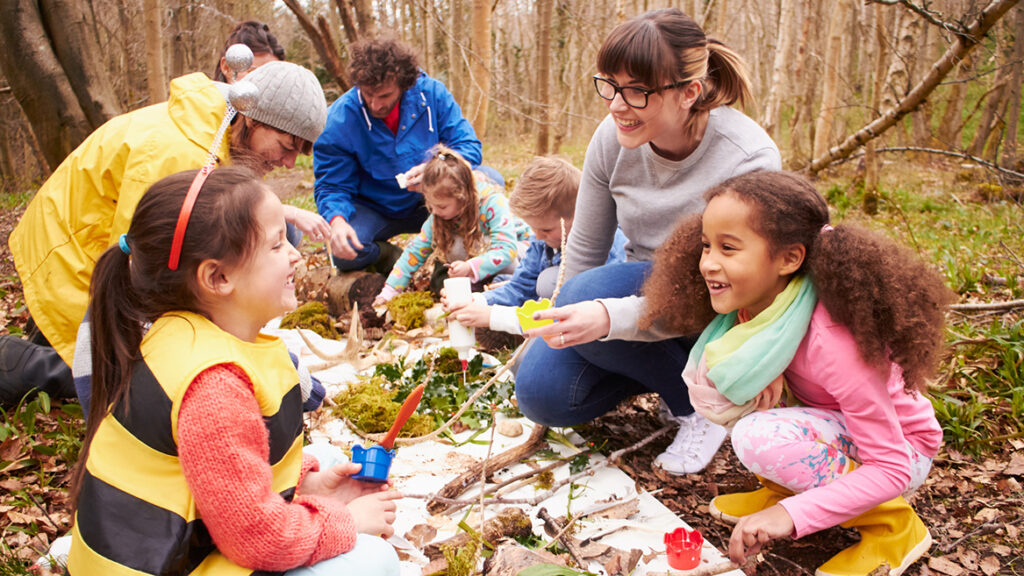
We are all part of the planet’s biodiversity. It makes sense that spending time outside is good for us and you can maximize your students’ learning by heading outside!
Professionals agree that outdoor learning is beneficial to mental health and academic performance. Learning outside can work for any subject and is definitely a great way to teach about the environment and agriculture.
Benefits:
- Better behaviour and social interactions with fewer disciplinary issues
- Students develop greater ability to complete tasks, to self-direct their learning, and to build connections with their peers
- Being outside provides an opportunity to learn about nature in context—perfect for learning about environmental issues.
- Learning outside provides natural opportunities for tactile learning.
Looking for a way to get started?
How about art?
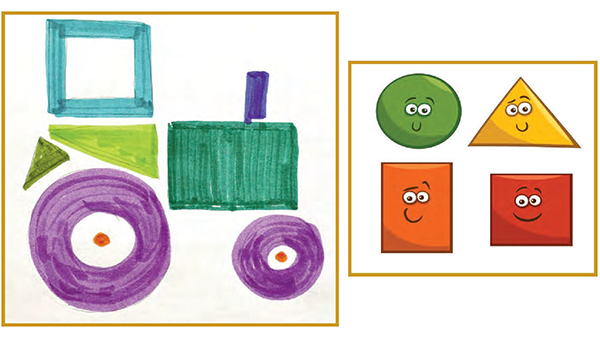
- Working on shapes: head outside with drawing supplies. Look around at what is in the environment and break them down into basic shapes. Use those shapes to capture what you see. Demonstrate how to draw an object using mathematical shapes. For inspiration, consider checking out basic shapes, Activity 2 in the educator guide for Draw with Rob, Episode 3 – Tractors…in Spaaaace!
- Positive and negative space: take art materials outside to capture a scene with positive and negative spaces, using line, form and simple colour values. It could be a familiar or imaginary scene.
- Extend the activity: introduce students to the work of A.J. Casson, member of the Group of Seven, and note how he divides negative space with lines and fills each space with various values. An excellent example is Casson’s Old Lumber Village.
- Perspective: Bring along paper and pencils and have students walk around the school, on grassy areas if possible. Ask them to notice the details of grass, plants, or cracks in pavement. Have them change their perspective by squatting or standing on tiptoe.
- Ask students to imagine themselves as very tiny, looking way up at a tree, or high in the sky looking down on the school and the area around it. How does perspective change perception? Does their perception of the school as large or small change?
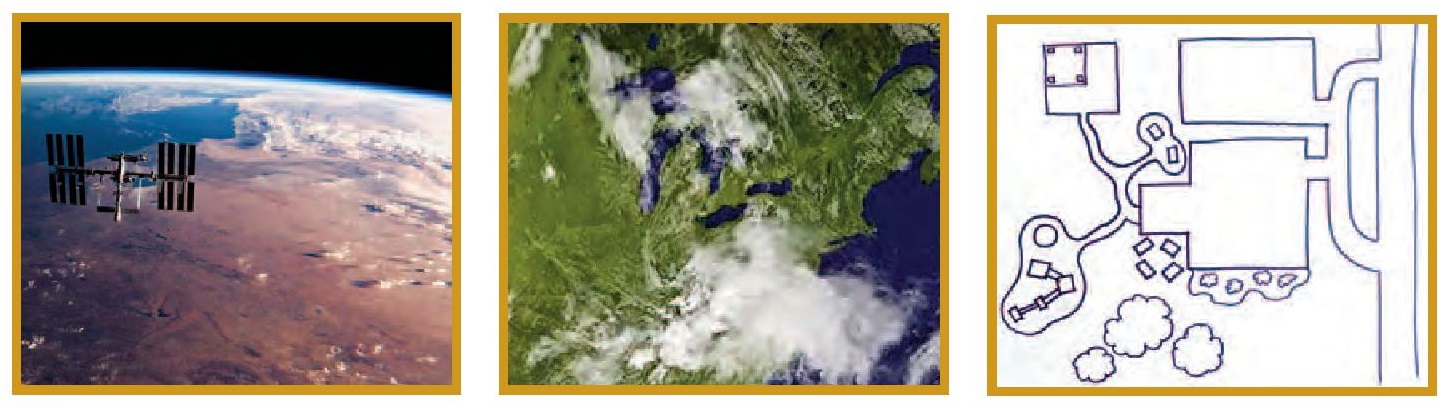
- Lead a discussion about the way a map shows a flattened perspective. If you took a picture of the school yard from an airplane, it would be very small. But if you took a picture of the area from much farther away from a satellite, using advanced technology, how detailed would the picture be?
- Have students draw what the school yard would look like from far above.
- Continue the discussion to talk about the many ways satellite imagery is valuable for mapping areas such as cities, wilderness, and farms
- Extend the activity with Satellite’s view, Activity 5, in the educator guide for Draw with Rob, Episode 3 – Tractors…in Spaaaace!
- Walking field trip: You may wish to begin this activity inside if you want to show images digitally, rather than in print. Begin by showing students images of tires with treads of different depths, such as for trucks, tractors, or skid steers. You can find pictures online or in flyers or brochures. We’ve included a few below.
- Take a walk off school grounds to a park or other public outdoor open space that has soft sand or dirt. This activity also works well with a tray of kinetic sand.
- Have students take turns stepping, stomping or pressing patterned objects (leaves, rocks, shoes) in the soft material to create tread marks. Have them note which way the soft material moves as they press down.
- Does it move out to the sides, or push out forward or back?
- Note the centre of the impression. Is it firmer than the material around it?
- Describe the firm impression as compacted and note that it happens to soil during farming. Farmers use specialized tires and drive on fields as little as possible to minimize soil compaction. It’s part of sustainable farming.
Notice the tires on this antique tractor. The front tires are smaller and smoother than the rear tires. They are good for steering and turning. The rear tires, which propel the tractor forward, have deep horizontal treads that are joined in the middle and continue over the edges of the tires.


An agricultural tire engineered not to compress soil as much as older tires. The treads are far apart, diagonal, and the edges don’t press soil outward. Used on vehicles and equipment driven on farm fields.
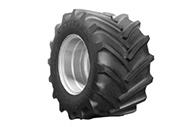
A specialized tire that is designed to maximize flotation on top of the soil thanks to the wide diameter of the tire, which helps in reducing soil compaction.

A specialized tire used for seed or air drills—a machine used to plant grain in evenly spaced rows. These tires are designed to minimize compaction on the soil where seeds are planted.
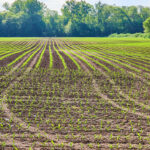
Getting your hands dirty: Have students work in groups. They will need small spades or trowels (1 per group) and journals or notebooks. Head outside to the school yard and look for places where the grass or ground cover is growing differently from other areas (i.e., thick and lush, sparse and dry).
- Have students make observations in their journals about the appearance of the plant growth in their selected area and form a hypothesis on what the soil is like and how well it is supporting plant growth.
- Have students designate a “digger” in their respective groups to turn over a small piece of sod. Direct them to notice what is in the soil on the underside of the sod. Do they see worms, crawling things, flecks of fertilizer? Is the soil dry and sandy, or a light brown in colour? Or is it wet and mucky, looks like clay , and holds together when it is squeezed?
- Back in the classroom—or sitting under a tree—lead a discussion about what they know about soil and why it is important.